Player Guide
New to the open seas? Learn how to provision your ship, grow your crew, earn your standing, and make the most of every voyage.
Supplies
Buying and selling
At the shop you can buy and sell food, water, medicine and barter goods. Stock up on food and water for your journeys, sell loot for gold, and buy medicine to restore your crew's health. The Buy necessities action lets you choose how many days of food and water to buy, taking your existing supplies into account.
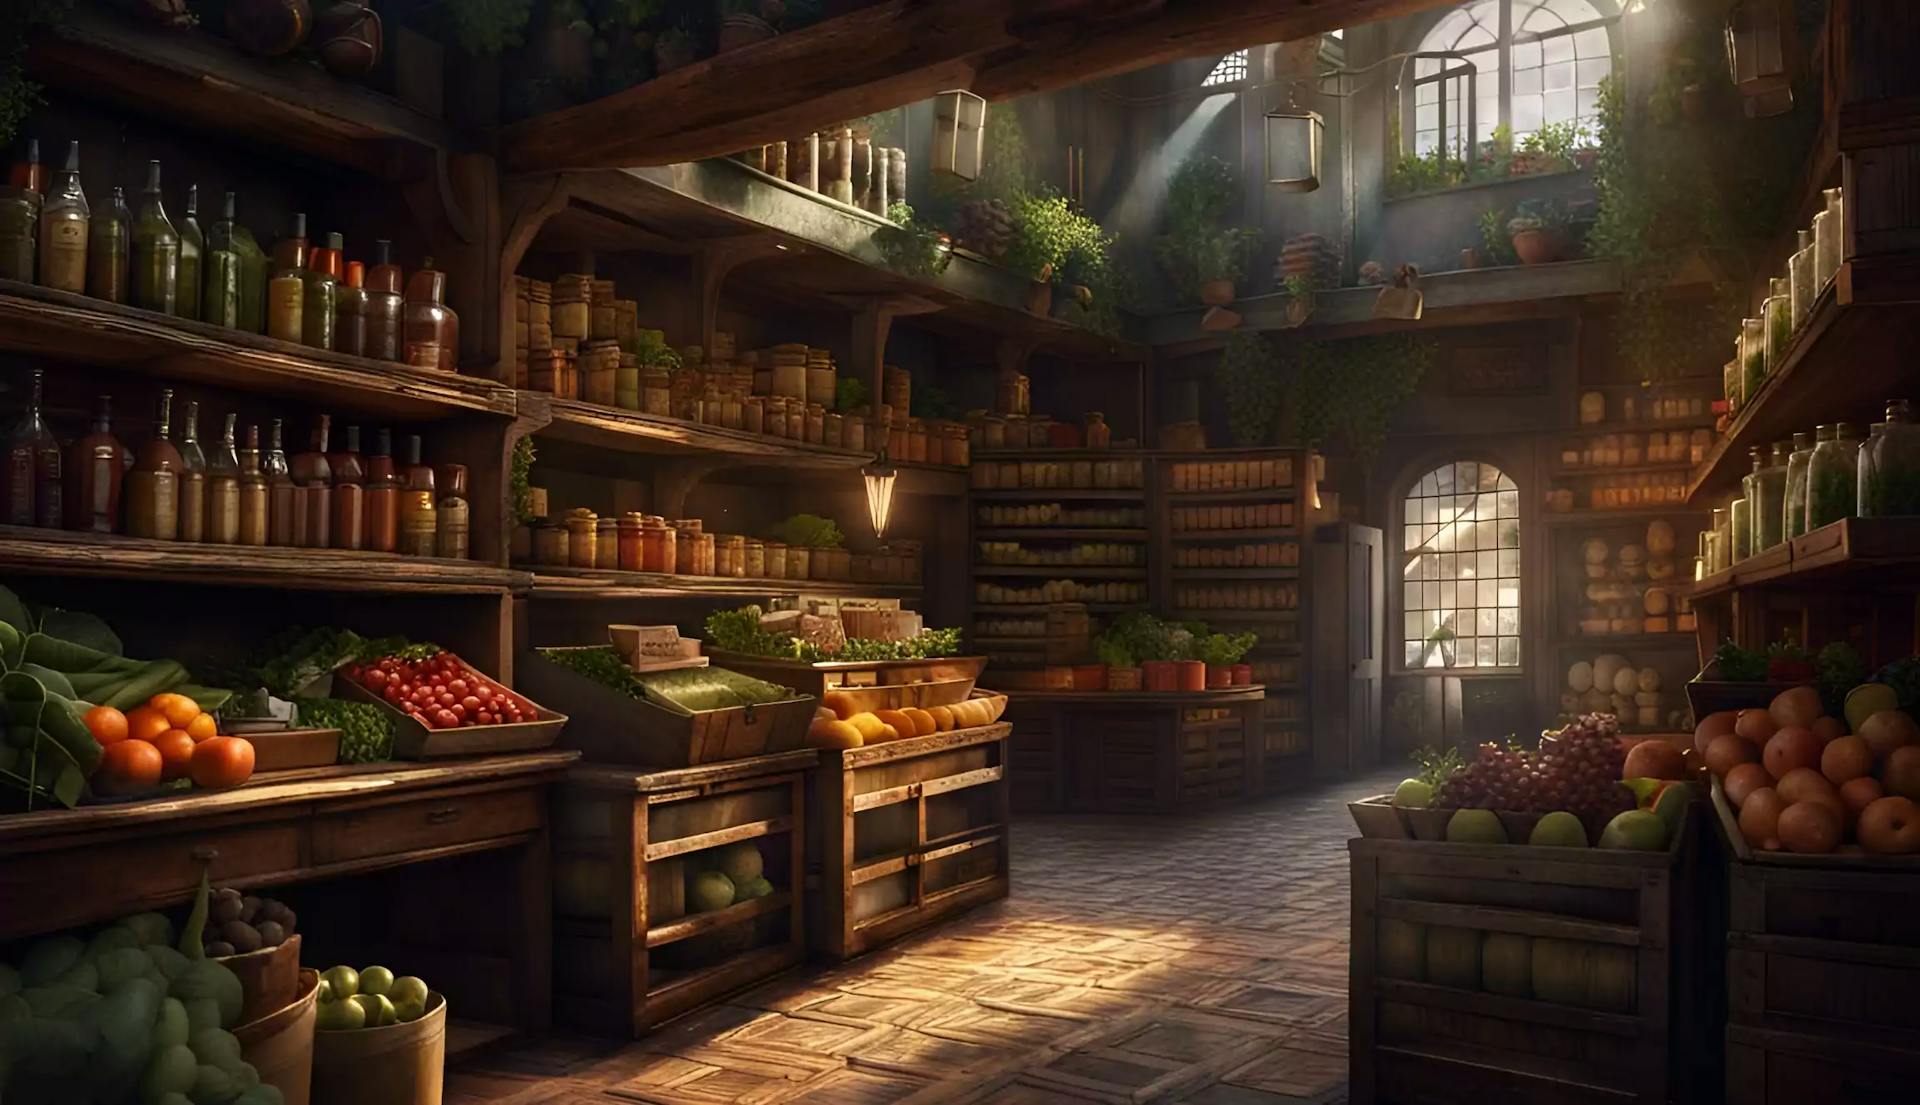
The market offers fixed batches of goods, often at a discount. You must buy the whole batch and have enough gold to cover its total price. Compare the offer with the shop's selling price before buying goods to resell, and check that a shop in your current town accepts them. Market offers can include goods that the local shop does not trade, as well as cannons and repair kits, which are traded at the shipyard.
Merchandise reference
| Item and description | Category | Unit / units | Buy | Sell | Availability |
|---|---|---|---|---|---|
Food You need food to travel the open seas. | Necessity | crate / crates | 16 | 11 | Shop All towns |
Water You need water to travel the open seas. | Necessity | barrel / barrels | 12 | 8 | Shop All towns |
Porcelain A great trading asset. Not used for anything specific. | Barter goods | crate / crates | 35 | 24 | Shop Port Royale, Barbados, St. Eustatius, St. Martin, Panama, San Juan, Havana, Martinique |
Spices A great trading asset. Not used for anything specific. | Barter goods | crate / crates | 20 | 14 | Shop Charles Towne, Belize, Biloxi, Tortuga, Leogane, Bonaire, Curacao, Villa Hermosa |
Medicine You can heal your crew with this mix of willow bark and herbs. | Utility | box / boxes | 15 | 10 | Shop All towns |
Tobacco A great trading asset and can also make your crew happy. | Barter goods | crate / crates | 75 | 52 | Shop All towns |
Rum A great trading asset and can also make your crew happy. | Barter goods | barrel / barrels | 150 | 105 | Shop All towns |
Sugar A great trading asset. Not used for anything specific. | Barter goods | crate / crates | 25 | 17 | Shop Barbados, Martinique, Port Royale, Belize, Leogane, Havana, San Juan, Villa Hermosa, Bonaire, St. Eustatius |
Silk A great trading asset. Not used for anything specific. | Barter goods | bolt / bolts | 45 | 31 | Shop Charles Towne, Port Royale, Panama, Havana, Martinique, St. Martin, Biloxi, Curacao |
Tea A great trading asset. Not used for anything specific. | Barter goods | crate / crates | 30 | 21 | Shop Charles Towne, Barbados, St. Eustatius, Bonaire, Tortuga, St. Martin, Curacao, Biloxi |
Cotton A great trading asset. Not used for anything specific. | Barter goods | bale / bales | 22 | 15 | Shop Charles Towne, Belize, Barbados, Leogane, Biloxi, Villa Hermosa, Tortuga, Bonaire |
Cannons You need cannons to fight other ships. You need 2 crew members per cannon in order to make it functional. | None | cannon / cannons | 300 | 200 | Shipyard All towns |
RepairKits Repair a ship anywhere, including at sea. Each kit restores up to 10 percentage points of health to one ship. It's cheaper to repair at the shipyard though. | Utility | kit / kits | 60 | 40 | Shipyard All towns |
Food and water
Before leaving port, you need at least 0.5 crates of food and 1 barrel of water per crew member, with each total rounded to the nearest whole unit. This departure requirement is the same for every destination.
Each time your journey continues, 0.1 crates of food and 0.2 barrels of water per crew member are subtracted from your supplies. The remaining totals are rounded to the nearest whole unit and stop at zero. Running out does not interrupt a journey already underway, but you will need to restock before your next departure.
Barter goods
Barter goods include porcelain, spices, medicine, tobacco, rum, sugar, silk, tea, cotton. You can loot them in sea battles or buy them at the market, then sell them at a shop that accepts them. They are used for trading; tavern actions cost gold and do not consume the food, tobacco or rum in your inventory.
Shops trade tobacco and rum in every town. The other barter goods can only be bought and sold at shops in the towns listed in the merchandise reference above. Sell tradable goods sells all barter goods accepted by the local shop and leaves the rest in your inventory.
Ships
If you lose a sea battle, one of your ships may sink. Your last ship cannot be sunk in battle, but it can still be damaged. A larger fleet lets you support more crew members, who can man more cannons. The number of manned cannons determines the strength of the ships you encounter; stronger opponents can carry more gold.
Losing a sea battle also costs you a share of every inventory item except cannons, based on how many ships you had before the battle. With three ships, you lose one third of those goods; with one ship, you lose all of them. You lose all gold you carry, but your bank balance and treasures are safe.
As a Pirate, you can own up to 3 ships. Higher titles increase this limit, up to 15 ships as a Duke.
Different ship types
| Type | Min crew members | Max crew members | Price |
|---|---|---|---|
| Merchantman | 1 | 10 | 1000 |
| Brig | 2 | 20 | 1500 |
| Galleon | 4 | 50 | 4000 |
| Frigate | 8 | 100 | 10000 |
Ship health and repairs
Every ship has a health rating. Your ships take damage every time the enemy hits them during a battle, win or lose. A ship at 0% health is completely disabled and will block you from leaving port. You can repair ships at the shipyard for 5 gold per 1% of damage. You can also sell any ship you own at the shipyard for half its purchase price, regardless of its health. You must own at least one ship to leave port.
Buy repair kits at any shipyard for 60 gold each, or sell them there for 40 gold each. In Crew & Fleet, click Use under Equipment > Repair kits, then choose a damaged ship and how many kits to use. You can use them anywhere, including at sea, without paying additional gold. Each kit restores up to 10 percentage points of health to one ship, capped at 100%. Kits can also be found in market offers or battle loot and are lost like other supplies when you lose a battle, with remaining kits rounded down to a whole number.
A ship at 50% health needs five kits; two such ships need ten. Use fewer kits for a partial repair. At normal prices, kits cost 20% more than shipyard repairs for ten points of health. Smaller repairs still consume a whole kit.
Cannons
Manned cannons determine your fighting strength and the strength of the ships you encounter. Each cannon needs two crew members, so 20 cannons and 30 crew members give you 15 manned cannons. Unmanned cannons do not help in battle. You can buy and sell cannons at the shipyard; owning cannons is not required to leave port.
Crew members
Purpose of crew members
Crew members sail your ships and man your cannons. To leave port, your crew count must be between the combined minimum and maximum requirements of all your ships. You need two crew members to fire one cannon.
Your crew loses 1 mood each time you continue a journey, except on arrival. Winning a sea battle increases mood by 20, up to a maximum of 100. If their mood is 0 or below, they will refuse to leave port.
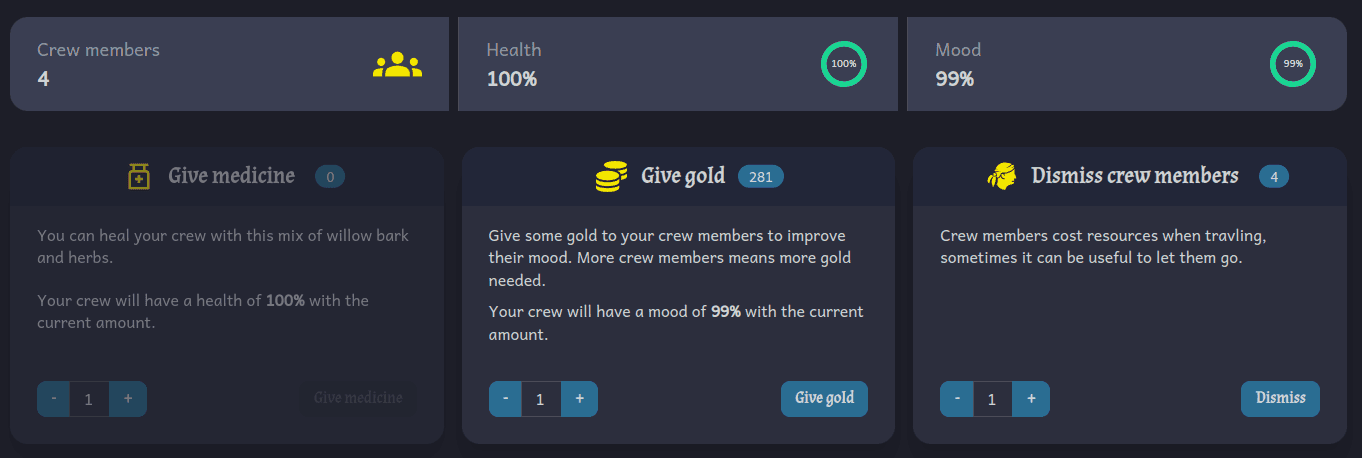
Improve their mood with tavern actions or use Give gold in Manage Crew. The more crew members you have, the more gold you need for the same improvement.
Sea battles and tavern fights reduce your crew's health. At 0% health, they do not die, but you cannot start another journey. Use Give medicine in Manage Crew to restore health, or Serve supper at the tavern. Larger crews need more medicine for the same improvement. Health and mood increases are capped at 100%.
Getting more crew members
Winning sea battles can automatically add recruits from the opposing crew. Friendly sailors at the tavern may also join for free if you accept their offer. New recruits can take you above your fleet's maximum crew size, so buy more ships or dismiss crew members before your next departure if needed.
Tavern
Keeping your crew happy and healthy
The tavern is one of the most important stops in any town. You can serve supper, smoke tobacco, pour the wine or pass the rum to improve your crew's mood. Serve supper also restores health. Each action costs gold for every crew member. The increases below are percentage points, capped at 100% health or mood.
| Action | Price (per crew member) | Health increase | Mood increase |
|---|---|---|---|
| Serve supper | 25 gold | +25 | +3 |
| Smoke tobacco | 30 gold | – | +5 |
| Pour the wine | 50 gold | – | +7 |
| Pass the rum | 70 gold | – | +10 |
Sailors
Sometimes you will find sailors at the tavern willing to join your crew for free. On other occasions the sailors you meet are hostile. If you fight them and win, you gain a small amount of gold. Your crew loses health whether you win or lose. You can also ignore the sailors to avoid the fight.
Cards
Choose a percentage of your gold to bet, then pick one of five cards. A correct choice adds five times your bet to your gold; a wrong choice costs your bet. For example, if you have 100 gold and bet all of it, a win leaves you with 600 gold and a loss leaves you with 0. You have a one-in-five chance of winning. Your bet must be at least 1 gold, and bank savings are not used.
Social status
Nations
Lost Seas is set in the Caribbean in the 17th century. Its nations are England, France, Spain, Holland. England is at war with France, and Spain is at war with Holland.
Levels
Your level for a nation is your number of victories against its enemy, minus all battles you fought against that nation, whether you won or lost. Each enemy victory adds 1 level, and each battle against your own nation subtracts 1. Battles against neutral nations and pirates leave this level unchanged, but victories can still reward you with gold. Losing a battle against your nation's enemy does not lower your level.
Titles
Your level determines the title the governor can offer you at the City Hall. Promotions reward you with gold and let you own more ships. More ships let you carry more crew members and man more cannons. Cargo has no capacity limit. Reaching the highest title is one goal you can choose to pursue. Accept promotions in a town belonging to your nation. Your title does not automatically fall if your level drops.
The different titles
| Level | Title | Reward | Max ships |
|---|---|---|---|
| Below 10 | Pirate | 0 gold | 3 |
| 10-19 | Ensign | 1000 gold | 5 |
| 20-29 | Captain | 2500 gold | 6 |
| 30-39 | Major | 4000 gold | 7 |
| 40-49 | Colonel | 6000 gold | 8 |
| 50-64 | Admiral | 8000 gold | 10 |
| 65-79 | Baron | 10000 gold | 11 |
| 80-99 | Count | 15000 gold | 12 |
| 100-119 | Marquis | 20000 gold | 13 |
| 120+ | Duke | 35000 gold | 15 |
Changing nation
You can change nationality at the City Hall of a town belonging to your desired nation. You qualify when your victories against that nation's enemy outnumber all battles you have fought against the desired nation, including defeats. Your new title depends on this difference, and you receive that title's gold reward. Changing citizenship can give you a lower title than the one you previously held.
For example, if you are a Spanish citizen with 50 victories against French ships and have never attacked an English ship, you qualify for English citizenship with the title of Admiral.
Economy
Getting some gold
Gold is the game's currency. You earn it by looting ships at sea, selling goods or ships, collecting title rewards, winning at cards, or winning tavern fights.
Winning a sea battle can also reveal a valuable treasure. Each treasure is tied to a specific town — you must bring it to that town's City Hall to collect the reward. The reward is paid directly in gold.
Saving money
The bank keeps your savings safe. Losing a sea battle takes all gold you carry, regardless of the size of your fleet, but does not affect your bank balance.
Your bank account is shared across all towns and nations. Deposit 100 gold at the bank in Panama, and you can withdraw it at the bank in Port Royale.
Keep enough gold for purchases in town and deposit the rest before leaving port. Repay any outstanding loan first so you can make deposits.
Loans
You can borrow gold at the bank, up to a total outstanding loan of 10,000 gold. Loans have no interest or fees. You cannot deposit gold until the loan is fully repaid, but you can still withdraw existing savings. You can repay the loan in smaller amounts or all at once.
Traveling
Towns and nations
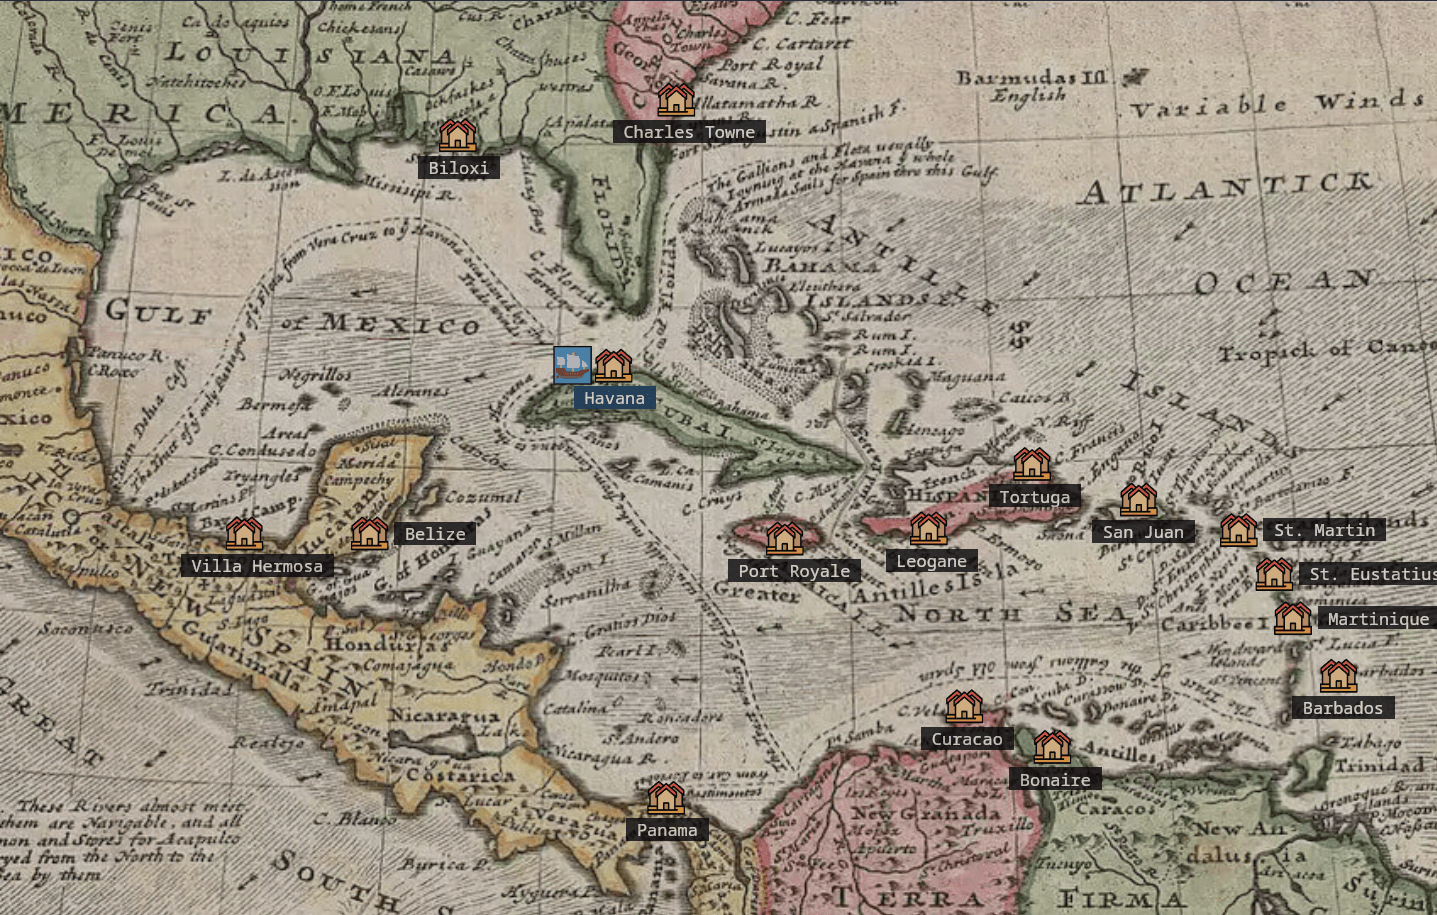
Each town belongs to one of the game's four nations. The list below shows their nationalities in Lost Seas.
Towns of England: Charles Towne, Barbados, Port Royale, Belize.
Towns of France: Tortuga, Leogane, Martinique, Biloxi.
Towns of Spain: Panama, Havana, Villa Hermosa, San Juan.
Towns of Holland: Bonaire, Curacao, St. Martin, St. Eustatius.
You can visit any town regardless of your nationality. Choose another town on the map to start a journey. If you cannot leave port, the advisor explains which problems you need to resolve in a popup. You stay at your current location until you are ready to sail. While at sea, the map shows your ship sailing one day at a time along its route, stopping whenever you encounter another ship.
Time
Time is measured in days in Lost Seas. Each normal journey step advances one day, including arrival at your destination. Starting a journey and visiting locations in town do not advance the calendar. Journeys continue automatically between ship encounters. Sailing pauses at an encounter or battle report. Choose Attack or Ignore when you meet a ship, fight the battle round by round, and choose Continue journey after the battle to resume sailing.
Continuing after a battle report does not advance the date. It uses supplies unless you are on the final travel day. On that day, your ship finishes sailing to town before arrival advances the date and uses supplies.
Weather
The weather shown depends on the current game day. It does not affect travel, supply consumption or battles.
Battles at sea
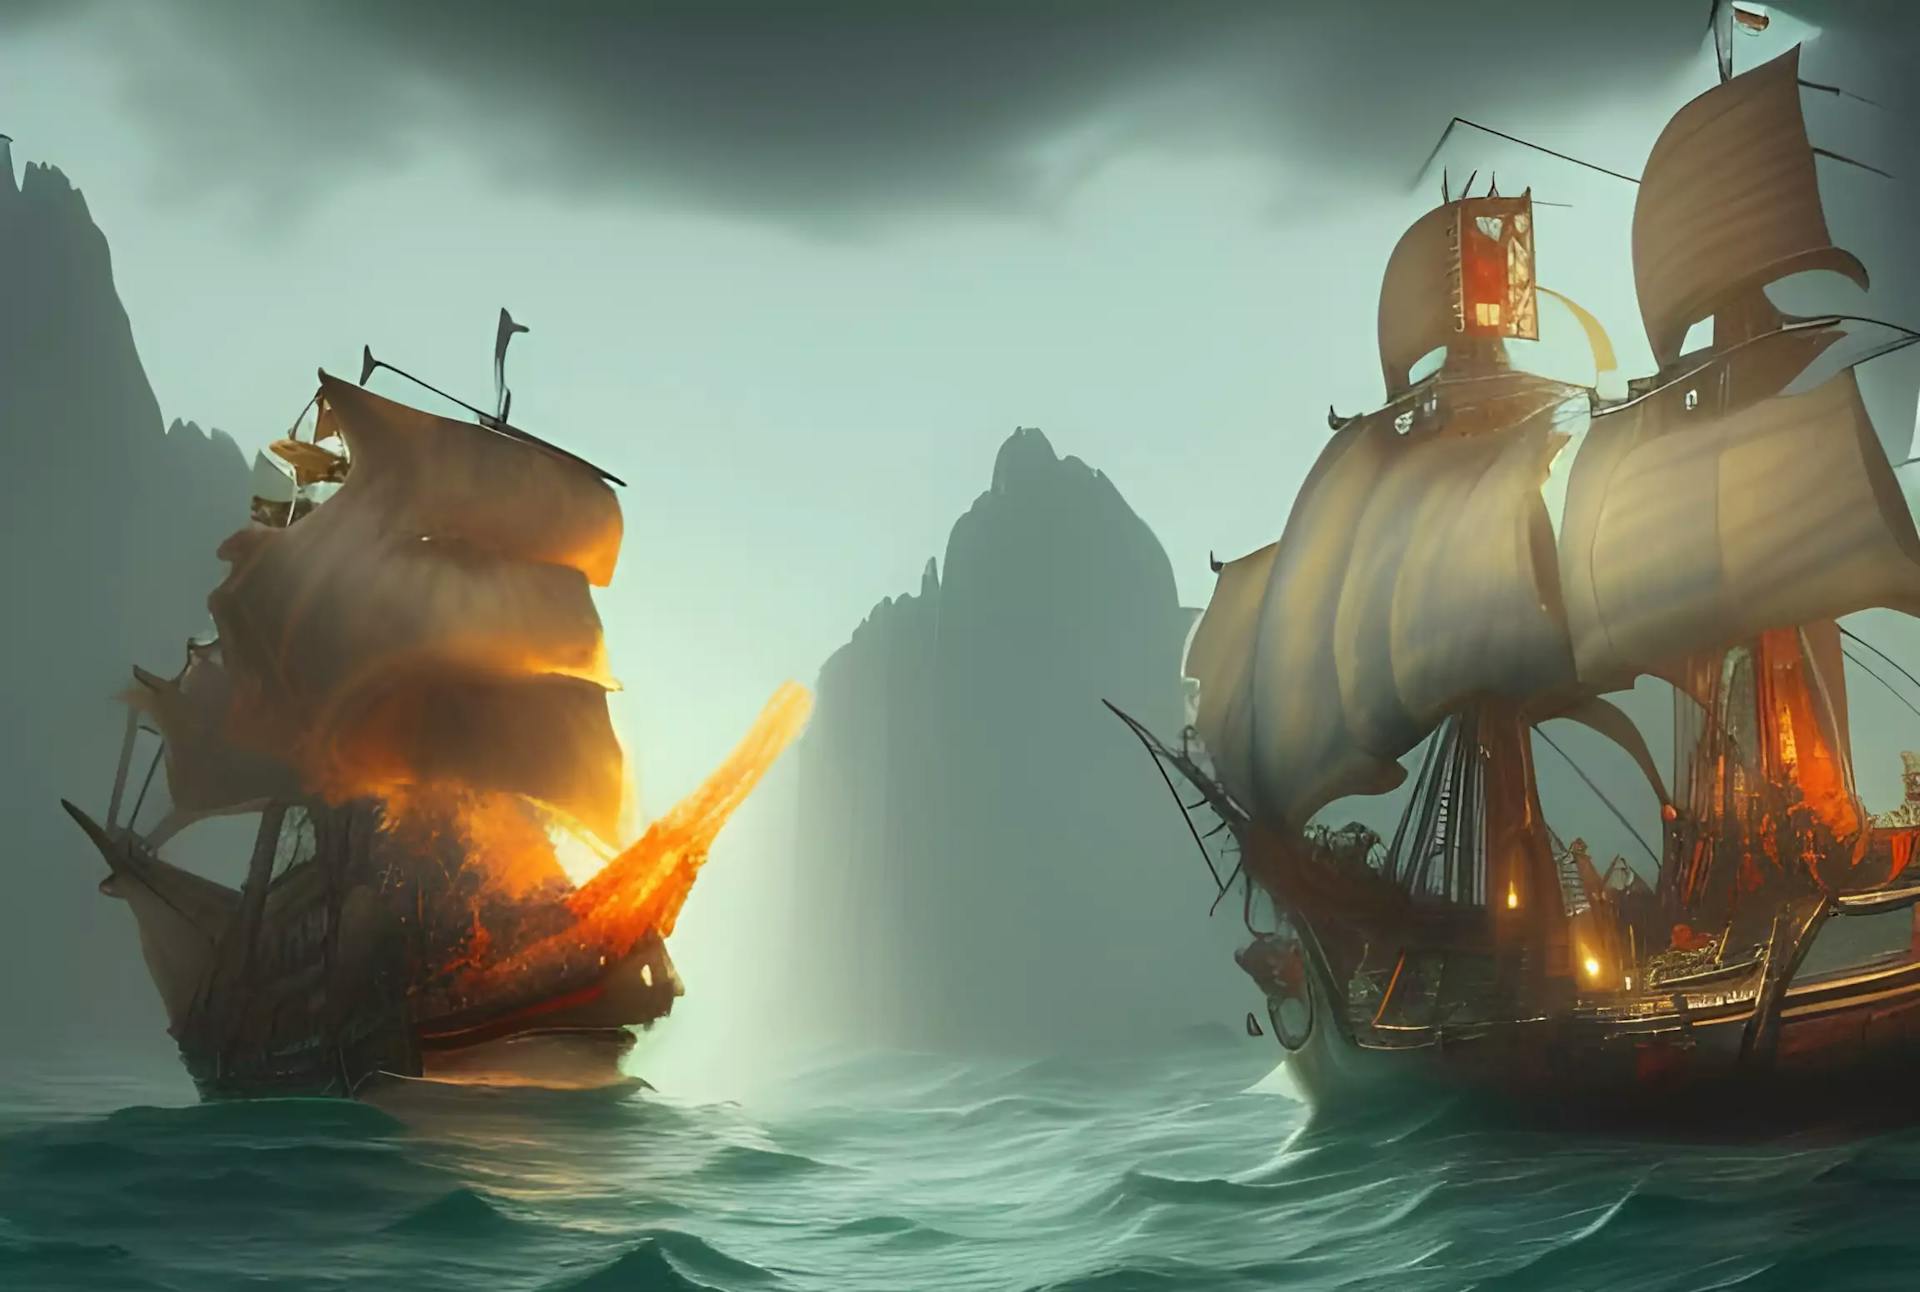
You can encounter ships from any nation, as well as pirates. Ships from your destination's nation are more common, so sail towards one of its towns if you want to find that nation's ships.
You can ignore an encounter to continue sailing without fighting. If you attack, the battle is fought over up to 5 rounds. Each round, choose to fire or evade. Firing compares your manned cannons with the opponent's cannons, with a random bonus for both sides. You can sometimes beat a slightly stronger ship, but attacking one with more cannons is risky.
- Both sides start the battle with 100% battle strength. It only exists during the battle and is separate from your ships' health.
- When you fire and win the move, the enemy loses 30–50% battle strength. When you lose it, you lose 10–25% battle strength, each of your ships loses 3–8% health and your crew loses 2–6% health.
- Evading succeeds 50% of the time, whatever your cannons. If it succeeds, you take no damage. If it fails, you lose 5–12% battle strength, each of your ships loses 1–4% health and your crew loses 1–3% health. Evading never damages the enemy.
- The side whose battle strength reaches 0% loses. After the last round, the side with the most battle strength left wins, and a draw counts as a defeat.
Each move is saved as you make it, so you can come back to a battle at any time. You cannot ignore the ship or sail on until the battle is over.
After a battle, a report shows your loot, recruits, damage and any losses. Your crew also loses health when the battle ends, more after a defeat than after a victory.